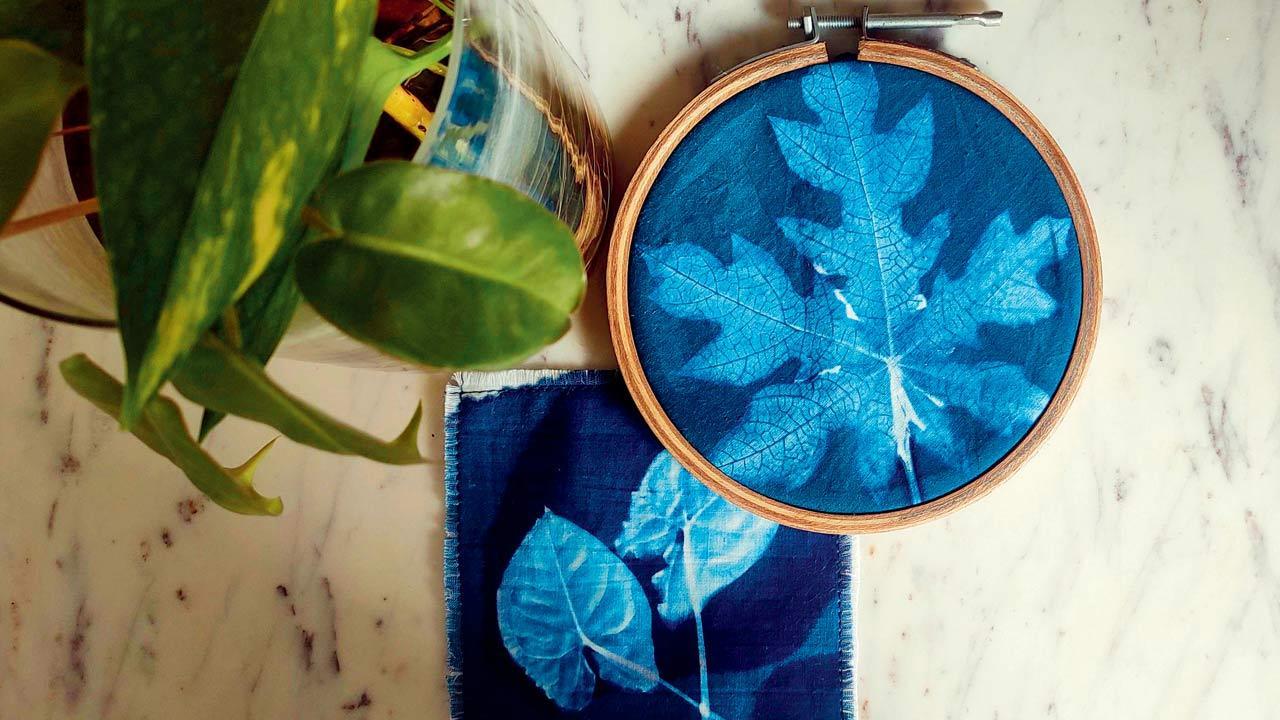
Experimental and fun, the new DIY cyanotype printing kit is a great way to channel your inner artist. All you need is a sunny day

Cyanotype printing can be done on fabric as well
This writer has often groaned about the unforgiving sun on afternoons when she has had to step out. But, the other day, it felt good to be out in the sweltering heat—the harsher, the better. The reason behind this was a new range of DIY cyanotype print kits that are great to keep anyone creatively occupied.
ADVERTISEMENT
Arrange your objects on a prepared canvas and place under a UV light source (sun or lamps). After the desired exposure time, remove the objects and wash your canvas in water
Cyanotype is a photographic printing process that produces a beautiful shade of cyan blue, which results from its exposure to ultraviolet light. The prints were first introduced by the astronomer, scientist and botanist John Herschel in 1842, and traditionally used for reproducing the technical drawings of architects and engineers until the arrival of photocopy machines.
Baro Market’s kit, where you can make your own artistic and unique postcards and fabrics, are ideal for an introduction to the cyanotype process. The kit contains eight blank postcards and greeting cards (natural shade, 300 GSM, pH neutral, acid-free paper), which are pre-coated with a cyanotype solution in a light-safe package, along with a detailed instruction booklet. To prepare the canvas, you can choose objects or plant specimens of your choice. We stepped into our little balcony garden and plucked out a few leaves. Remember to keep the size of the paper in mind while selecting the object. We had to use binder clips to keep the objects in place as they were featherweight. Once the design was finalised, we took it outside and exposed it to sunlight. You know the paper is exposed when the colour of the chemical coating changes to greyish-blue. We kept it for 20 minutes and because the rays were harsh at that hour, it worked. The last step in the process is a water rinse to wash away the sensitiser solution, and the blue darkens as the print dries to reveal the final product.
If all of this seems a little complicated, let us assure you that it’s not. Cyanotypes are rather flexible and allow you to dive as deep as you’d like. In fact, it can be done on fabric and ceramic surfaces too, as long as the canvas surface can absorb and hold the light-sensitive solution, as well as hold the final image after the washout. While this normally requires mixing chemicals, pre-treated papers like the one we used make it easy and safe for children to use. For beginners, this kit could be a great place to start.
What: Cyanotype DIY kits
Price: Rs 1,950
To order: https://baromarket.in/
 Subscribe today by clicking the link and stay updated with the latest news!" Click here!


